Foam Rolling Your Calves
Foam rolling is one of the most effective self-myofascial release techniques for breaking up muscle knots and restoring mobility in your calves.
However, foam rolling isn’t always the best tool for deeper trigger points. If you’ve let it go on for too long, manual trigger point therapy or a massage ball will be more effective.
In this guide, we’ll walk through

How to Properly Foam Roll Your Calves
Foam rolling is most beneficial for:
- Loosening up tight calves before exercise to prevent strains and enhance mobility
- Breaking up adhesions and improving blood flow post-workout to speed up recovery.
- Targeting general muscle tightness when stretching isn’t enough.
Here’s how to do it!
Basic Foam Rolling (Gentle Release)
If you just want some general muscle relaxation without a lot of long-term changes you can do a basic roll.
How to Perform Basic Foam Rolling:
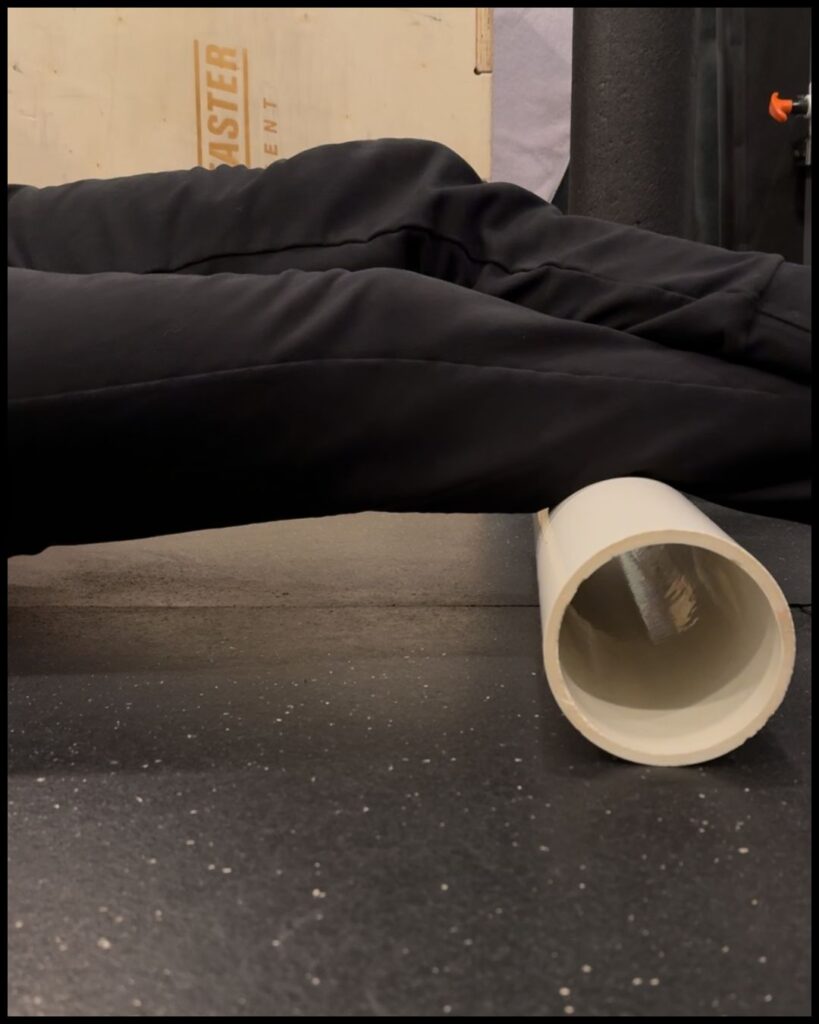
- Sit on the floor with your legs extended and place the foam roller under one calf.
- Support your weight with your hands behind you, keeping your hips lifted off the floor. (You don’t have to lift yourself, but it will help give extra pressure)
- Slowly roll up and down your calf while shifting from side to side.
Note: Don’t go from the knee to ankle all at once. Do small sections for 10-20 rolls at a time. I explain it in this video (coming soon)!
- If you find a tender spot, pause for 30-45 seconds to inhibit the muscle spindles.
If you feel specific knots or pain points while rolling, the next technique—targeting trigger points—will help break up deeper adhesions.
Targeting Trigger Points (Advanced Rolling)
Trigger points are small, tight muscle knots that don’t always respond well to general foam rolling. Instead of rolling over them quickly, you need to apply direct, sustained pressure to release these knots.
Pair it with a deep stretch and corrective movements too.
It can be a lot.
That’s why I made this detailed guide on How to Release Trigger Points In Your Calves.
But, here is a brief overview:
You have probably found a tender spot (trigger point) while performing basic foam rolling.
- Stop rolling and hold pressure on that area for 30-60 seconds.
Pro tip: You can add pressure by crossing your other leg on top of the leg you’re rolling.
- Move your ankle in circles or flex and point your toes while maintaining pressure—this enhances muscle release.
- Continue rolling slowly after the discomfort begins to decrease.
- Repeat on other trigger points in the calf as needed.
For an even more targeted approach, consider using a massage ball or trigger point therapy. Read my Trigger Point Therapy Guide for more details.
Foam Rolling Mistakes to Avoid
Foam rolling is an effective tool for reducing muscle tightness and improving mobility, but common mistakes can cause injury.
To get the best results, avoid these errors when rolling your calves.
Mistake #1: Rolling Too Fast or Without Enough Pressure
One of the biggest mistakes people make is rolling too quickly over their calves. Foam rolling isn’t meant to be a rapid movement—it’s about slow, controlled pressure that allows the muscle tissue to release.
Why It’s a Problem:
- Rolling too fast doesn’t give the muscle enough time to relax.
- It skips over trigger points instead of breaking them up.
If you’re dealing with persistent knots, consider adding trigger point therapy or using a massage ball for more precision. Learn more in my Trigger Point Therapy Guide.
Mistake #2: Rolling Over the Achilles Tendon
The Achilles tendon is not a muscle, so foam rolling over this area won’t help release tension—instead, it may cause irritation in some people.
Muscles respond to pressure but tendons don’t respond well to deep pressure. That’s why excessive force on the Achilles can increase inflammation or sensitivity.
Why It’s a Problem:
- The Achilles tendon doesn’t have the same elasticity as muscle tissue, so direct pressure can lead to irritation.
- Applying too much force here can increase discomfort rather than relieving tightness.
How to Fix It:
- Keep the foam roller positioned on the muscle tissue only, from the lower calf up to just below the knee.
- If you experience tightness near the Achilles, focus on soleus trigger point release instead.
- Use advanced trigger pointing techniques to address tension in this area instead of direct foam rolling.
For targeted relief in the lower calf and Achilles region, check out our Soleus Trigger Point Release Guide.
Maximizing Foam Rolling Effectiveness
To ensure you’re getting the most out of your foam rolling routine, remember to roll slowly and apply consistent pressure to allow muscle release.
You will also want to focus on trigger points and tight spots, rather than aimless rolling.
Avoid rolling over bones, tendons, or joints to prevent irritation
And finally, combine foam rolling with stretching and mobility drills for long-term relief.
What’s Next?
If you feel like you learned something valuable in this article, would you please share this or any of my other articles with the people that are closest to you?
My goal is to help people improve their lives through increasing mobility, and I need your help to do that!
Let me know if you need anything in the comments! I read every single one of them!
And if you want some related articles: Go to the Calf Category Page to read more on how to fix your calves for good!
Good luck
-Nick